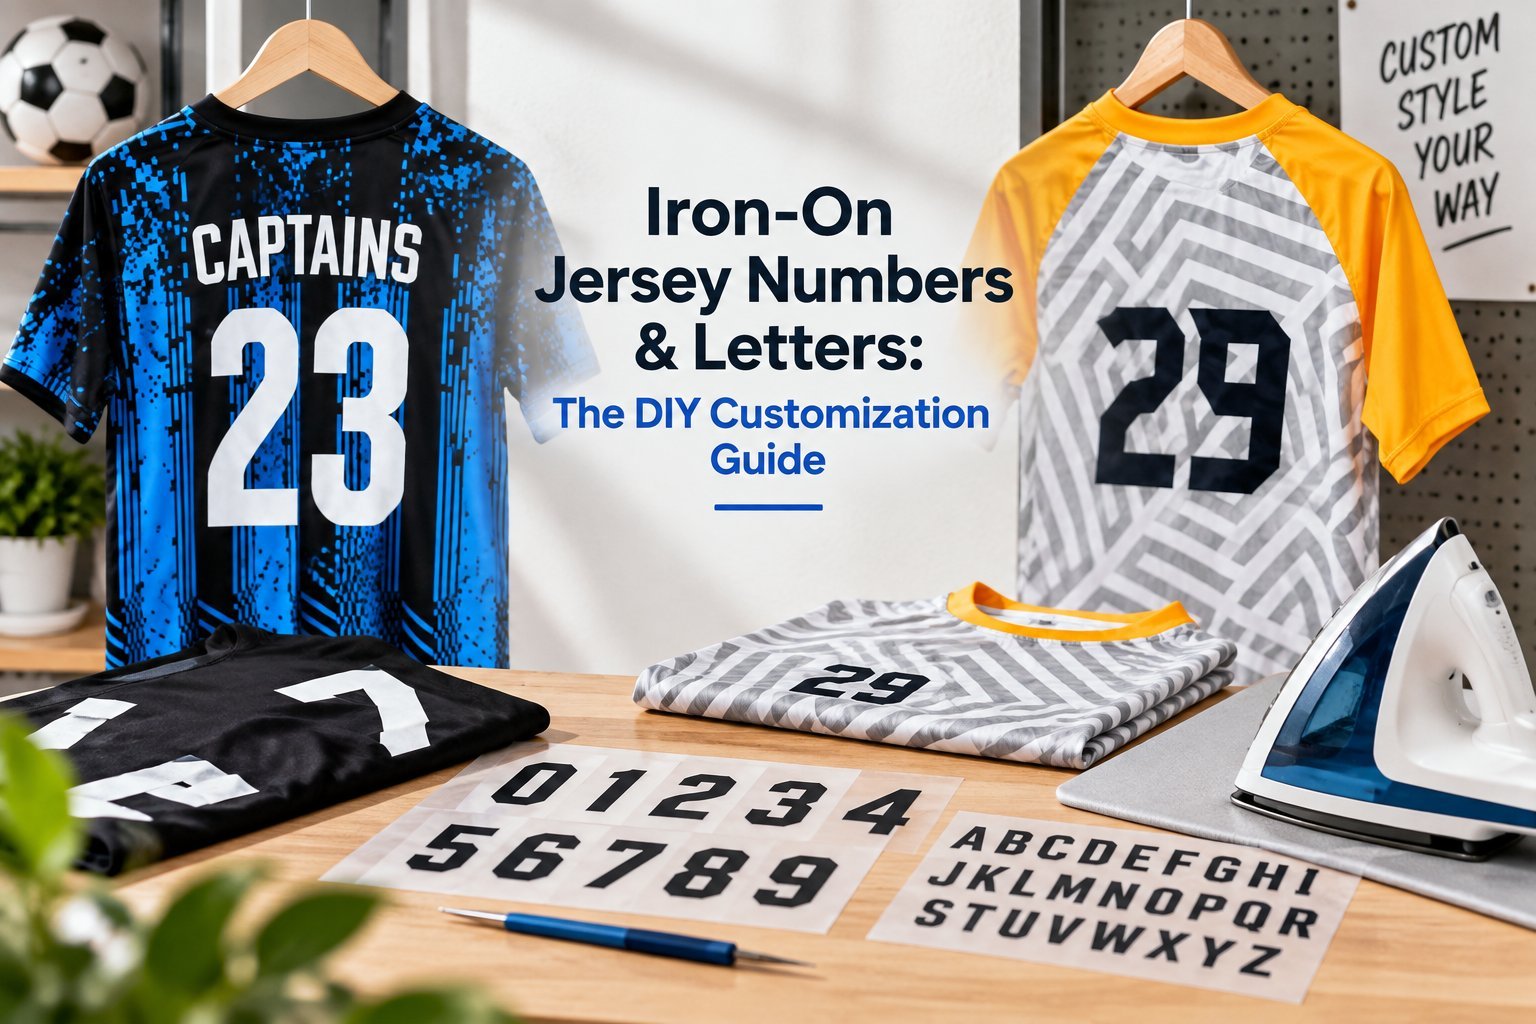
Ironing on jersey numbers comes down to three rules. Follow the transfer manufacturer’s own heat and time settings instead of guessing, protect the number with a cover sheet while you press, and get the placement right before you start, since you can’t reposition it once it’s stuck. Skip any of those and you end up with a peeling number instead of a clean finish, or worse, a scorched jersey.
Table of Contents
- Prep the jersey before you touch an iron
- Measure your placement before you apply heat
- Apply heat the right way
- Fixing bubbles and loose edges mid-application
- Removing an old or peeling number first
- What to look for if you’re buying an iron-on kit
- Common mistakes that ruin a DIY job
- DIY iron-on vs. a professional application
- Skip the iron entirely
- Caring for your jersey after the numbers go on
- FAQ
Prep the jersey before you touch an iron
Wash and fully dry the jersey first. A clean, dry surface helps the adhesive bond properly instead of fighting dust or moisture.
Turn the jersey inside out while you wash it if it already has other printing on it. This protects existing numbers or logos from extra wear in the machine.
Lay the jersey flat and slide a piece of cardboard or a flat surface inside it, between the front and back layers. That keeps your iron from pressing through to the other side of the shirt.
Measure your placement before you apply heat
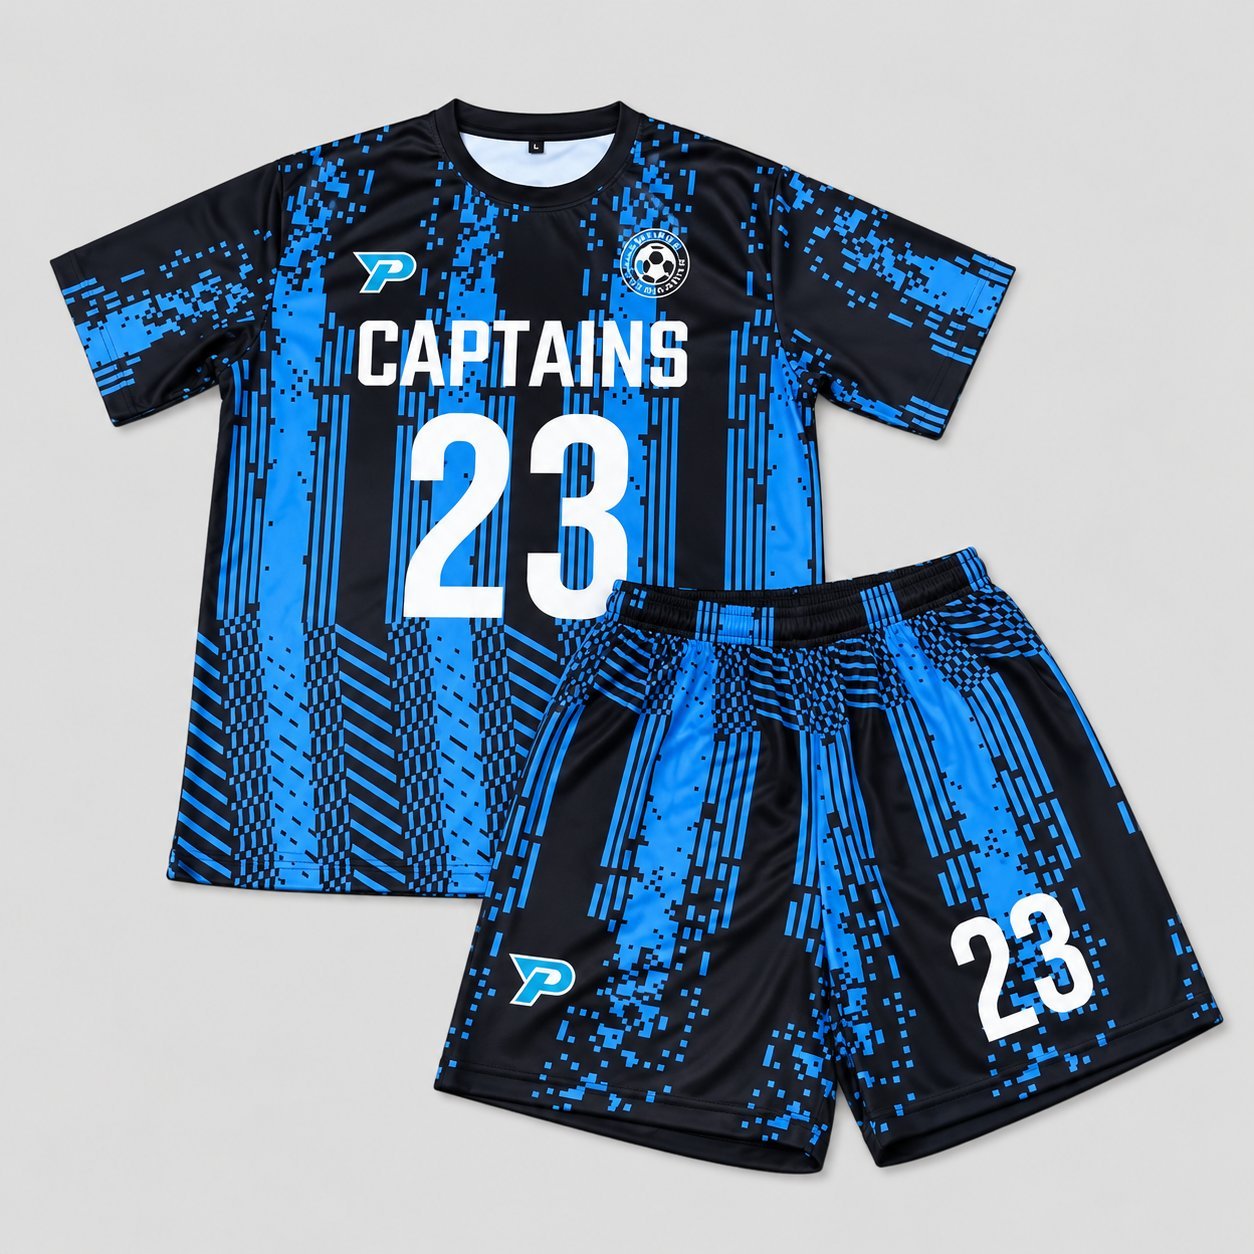
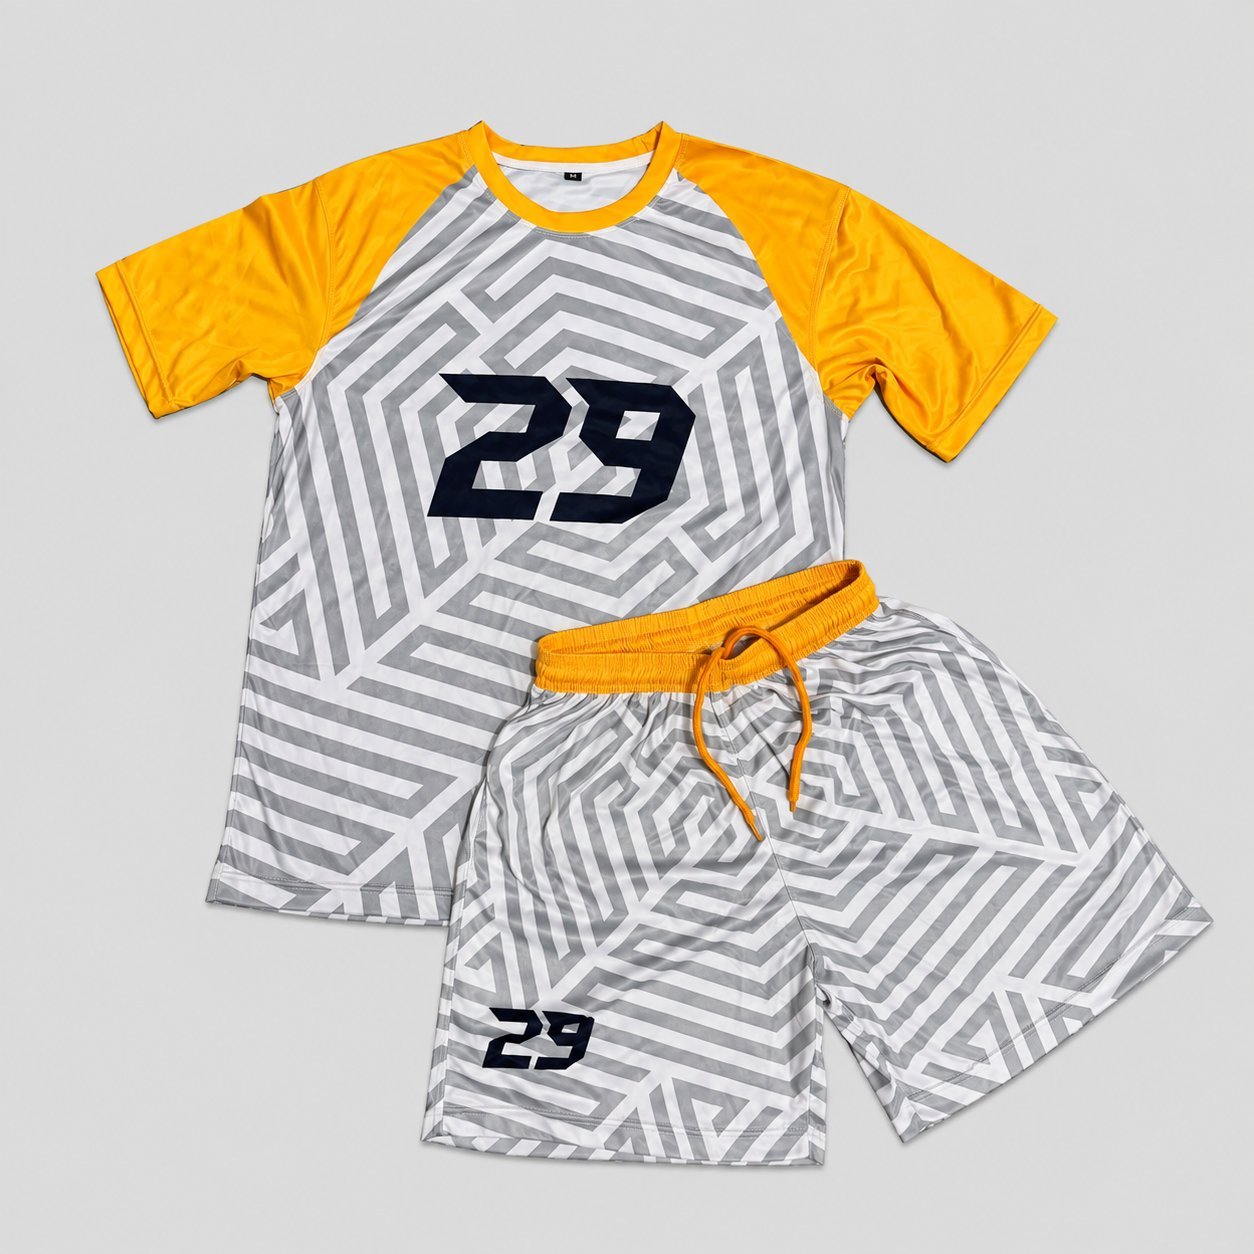
A back number in the range of about 6 to 8 inches tall on an adult jersey, positioned a couple of inches below the collar seam, is a common starting example, with youth sizes scaling down to around 4 to 6 inches.
For league-specific measurements, cross-check against FANKIT’s size guide before finalizing placement.
Treat these as a starting point rather than a fixed standard. The right size and placement depend on the sport, any league rules you’re working under, the garment’s cut, and the final template from your transfer supplier, so confirm those against the actual jersey before you commit to a placement.
Measure and mark your placement with a ruler before you turn the iron on. Once the adhesive sets, moving a crooked number means peeling it off and starting over, not a quick nudge.
Apply heat the right way
Use the temperature, pressure, and time listed by the transfer’s own manufacturer, since different transfer materials and fabrics call for different settings. A fixed number like "300°F" isn’t right for every kit. Some may need less heat, others more, so check the packaging or instructions that came with your specific transfer before you start.
Test the setting on a hidden area of the jersey or a scrap of matching fabric first if you’re unsure. That catches a too-hot iron before it melts or discolors the visible panel.
Use steam only if the transfer’s own instructions say it’s fine. Whether steam helps or hurts depends on the specific transfer material and fabric, not a universal rule, so default to dry heat unless you’ve confirmed otherwise.
Keep the iron on a stable, heat-resistant surface throughout, and keep it away from children while it’s on. A hot iron and heated plastic film both carry a real burn and fire risk, and that matters more than getting the bonding perfect on the first pass.
Place a plain sheet of paper, or whatever cover sheet the transfer manufacturer specifies, over the number before you press, so the iron never touches the plastic directly.
Move the iron slowly and steadily rather than holding it in one spot. Work one number at a time, and lift a corner of the paper partway through to check that it’s actually bonding before you move on.
Fixing bubbles and loose edges mid-application
A bubble under the plastic usually means one spot got less heat than the rest. Lay the paper back over it and press that specific area again, holding a bit longer than you did the first pass.
A loose edge is a similar fix. Focus the iron on just that corner rather than re-pressing the whole number, since the center is probably already bonded fine.
If a number won’t fully bond after two or three extra passes, the adhesive itself may be old or low quality. That’s usually a sign to start over with a fresh number rather than fighting the same piece indefinitely.
Removing an old or peeling number first
Don’t layer a new number directly over adhesive residue from an old one. Peel off as much of the old number and backing as you can, working slowly so you don’t tear the fabric underneath.
Check the jersey’s care label and, if you still have it, the original transfer’s instructions before you try to remove anything. A warm iron and a clean cloth pressed over the residue can lift it onto the cloth on some fabrics, but heat and adhesive remover can also damage coatings, certain dyes, or water-repellent finishes on others. Test any removal method on a hidden part of the jersey first, and if you’re not confident it’s safe for your specific fabric, a professional cleaning or printing service is the safer call.
Let the area cool and dry completely before you apply the new number. Any leftover moisture or residue affects how well the new adhesive bonds.
What to look for if you’re buying an iron-on kit
If you’re buying number kits rather than having FANKIT print your design, plastic or vinyl-backed numbers with a clear adhesive layer are the standard option. Look for a kit that lists an iron-on temperature range on the packaging, since applying too much heat is the most common way these kits go wrong.
Buy a couple of extra numbers if your design allows for it. A test run on a scrap piece of fabric before you commit to the actual jersey catches heat and timing issues before they cost you a wasted number.
Common mistakes that ruin a DIY job
Skipping the paper barrier is the most common one. Direct heat on the plastic melts or warps it fast.
Using steam is a close second. It looks harmless, but it undercuts the adhesive from the start.
Rushing the pass is the third. Uneven heat means parts of the number bond and parts don’t, which is exactly how you end up with a corner peeling after one wash.
DIY iron-on vs. a professional application
| Method | Durability | Skill needed |
|---|---|---|
| DIY iron-on at home | Depends on the transfer and how well it’s applied, but tends to wear sooner than a professional application, especially with heavy washing | Low to moderate, but placement mistakes are hard to fix |
| Professional heat transfer | Better bonding and more even heat than a home iron typically achieves | None. It’s done for you |
| Professional sublimation printing | Becomes part of compatible polyester fabric rather than sitting as a separate layer, though color retention still depends on the fabric, process, and care | None. Best for full designs, not just a name and number |
Scope note: DIY figures reflect general home-ironing outcomes rather than a lab test. FANKIT’s printing methods come from its own customization service page.
Skip the iron entirely
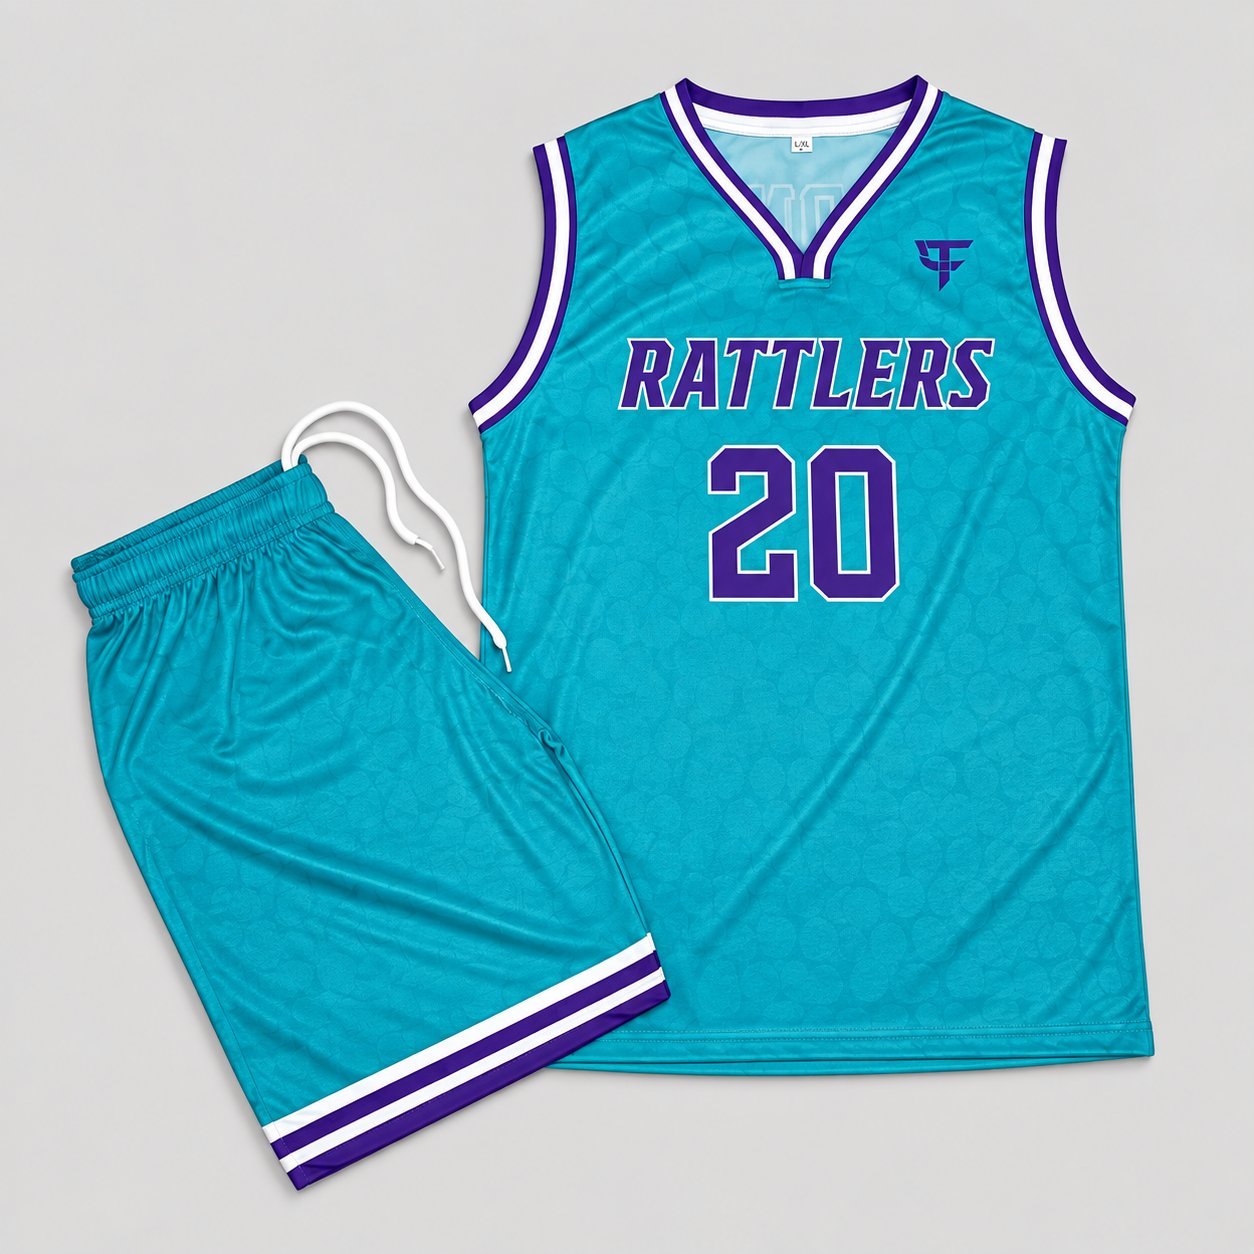
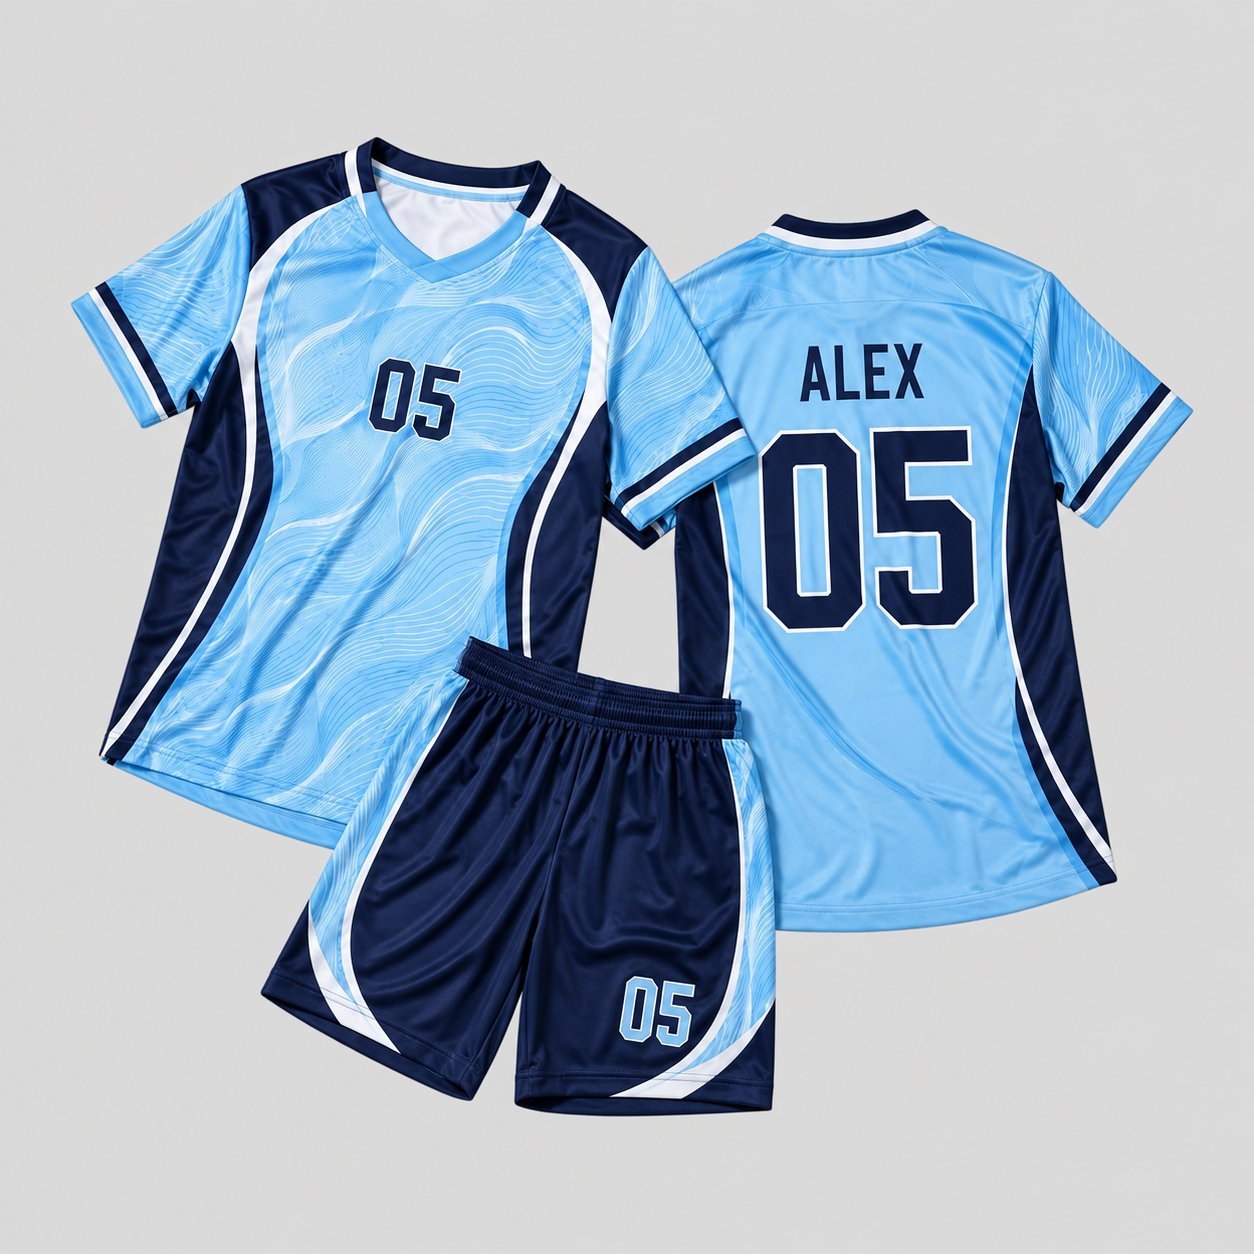
If you’d rather not risk a peeling number on a jersey you actually care about, FANKIT applies your name and number for you using professional heat transfer or sublimation depending on the design, no heat press or steady hand required. You submit your name, number, or logo and it comes back already applied. Pick a design from a collection like FANKIT’s United States national team kits or any other club to get started.
Confirm the current personalization fee, accepted artwork formats and file size limit, and delivery estimate on the specific product listing before you order, since these details can change. As of this writing, FANKIT accepts JPG, PNG, WEBP, PDF, AI, or SVG files up to 10MB for logo uploads, and personalized orders typically process in 3 to 5 business days with US shipping adding another 7 to 15 business days, according to FANKIT’s shipping policy. Treat that as an estimate rather than a guarantee.
Caring for your jersey after the numbers go on
Whether you ironed the numbers on yourself or FANKIT applied them professionally, the wash routine afterward matters just as much as the application itself. Wait at least 24 hours after ironing before the first wash, so the adhesive has fully set.
Turn the jersey inside out and wash it in cold water. Skip the dryer’s high heat setting, since that’s the same kind of heat that applied the number in the first place, and repeated high heat is what eventually breaks the bond down.
Avoid ironing directly over an already-applied number again for any reason.
Full delivery and return terms are in FANKIT’s shipping & returns policy, which is worth a quick read before you commit to a turnaround date.
If it needs to be flattened or touched up, use the same paper-barrier method from the original application rather than pressing it directly.
FAQ
Why does my iron-on number keep peeling?
Usually one of three things: steam was used, the iron touched the plastic directly without a paper barrier, or the heat wasn’t applied evenly long enough for the full number to bond.
Can I iron new numbers over an old one that peeled?
Remove as much of the old adhesive as you can first. Layering a new number over old residue makes it bond poorly and peel again faster.
What temperature should my iron be set to?
Use the temperature your transfer manufacturer specifies on the kit or instruction sheet. Different transfer materials and jersey fabrics tolerate very different heat ranges, so the same setting that bonds one kit cleanly can melt or under-bond another. If you’ve lost the original instructions, do a small test on a hidden seam or a scrap of matching fabric before pressing the real number, and follow any care-label limits on the jersey itself.
Is DIY iron-on durable enough for regular wear?
It can hold up for casual wear, but it tends to be less durable than a professional application. If the jersey gets washed often or worn hard, a professionally applied name and number generally holds up longer, though actual durability still depends on the transfer, fabric, and care routine.
Can I get a jersey personalized without doing it myself?
Yes. FANKIT applies your name and number professionally using heat transfer or sublimation instead of a home iron. See the pricing and file details above for the current terms.
Do I need special equipment to iron on numbers myself?
Just a household iron with a steam-off setting, plain paper, and something flat to slide inside the jersey. No heat press is required for a basic DIY job.
How do I fix a bubble under the number after I’ve already ironed it?
Lay the protective paper back over the bubble and press that spot again, holding slightly longer than the first pass. Most bubbles come from one area getting less heat than the rest.
How do I remove an old number before applying a new one?
Peel off as much of the old number and adhesive as you can, then use a warm iron over a clean cloth to lift any leftover residue. Let the area cool and dry fully before applying anything new.
How soon after ironing can I wash the jersey?
Wait at least 24 hours so the adhesive fully sets. Washing too soon risks lifting an edge that hasn’t bonded completely yet.
Is it cheaper to iron on numbers myself or pay for professional application?
A DIY kit costs less upfront, but factor in wasted numbers from a botched first attempt and the shorter lifespan of a home-ironed number. For one jersey, the gap between DIY and FANKIT’s personalization fee is often small enough that it’s worth comparing the actual numbers before deciding to skip the risk.
Ready to skip the risk
If your DIY attempt didn’t go as planned, or you’d rather not risk it on a jersey you care about, pick a design and let FANKIT apply your name and number professionally, confirming the current fee and timeline on the listing before you order. If you’re outfitting a whole team, contact FANKIT with your roster size, sizes, names and numbers, design idea, and deadline for a bulk quote instead of ironing on numbers one jersey at a time.
Ready to skip the DIY risk?
If you would rather have the name, number or team design professionally applied, choose your jersey and let FANKIT handle the customization. For team orders, send the roster, sizes, names, numbers, design requirements and deadline for a bulk quote.